How to display a file stored in a metafield on Shopify product pages?
Metafields are a great solution how to add and display additional information on you product pages. There are many content types which you can use. Apart from the basic ones, such as text or number, you can also add a file. Let’s have a look at this content type closer, especially how to render this metafield content type on product pages.
(Note: To learn more about metafields in general, refer to one of my previous articles: How to display additional product information on your store? Use integrated Shopify metafields.)
When should I use a file content type metafield?
File metafields enable you to upload a single file of less than 20 MB either as image (JPEG, PNG, and GIF formats) or any other file type. While images can be displayed on your online store, all other file types are displayed as available for download.
This metafield content type might come in handy when you want to enable your customers to download a manual for your products (e.g. as PDF), or need to display e.g. a different color palette for your products (e.g. as a pop-up window).
It’s very easy and you need to follow the same steps as in case of a text or a number metafield.
- Go to your Shopify admin and click Settings.
- In the right menu, click Metafields section.
- Click Products.
- Click Add definition.
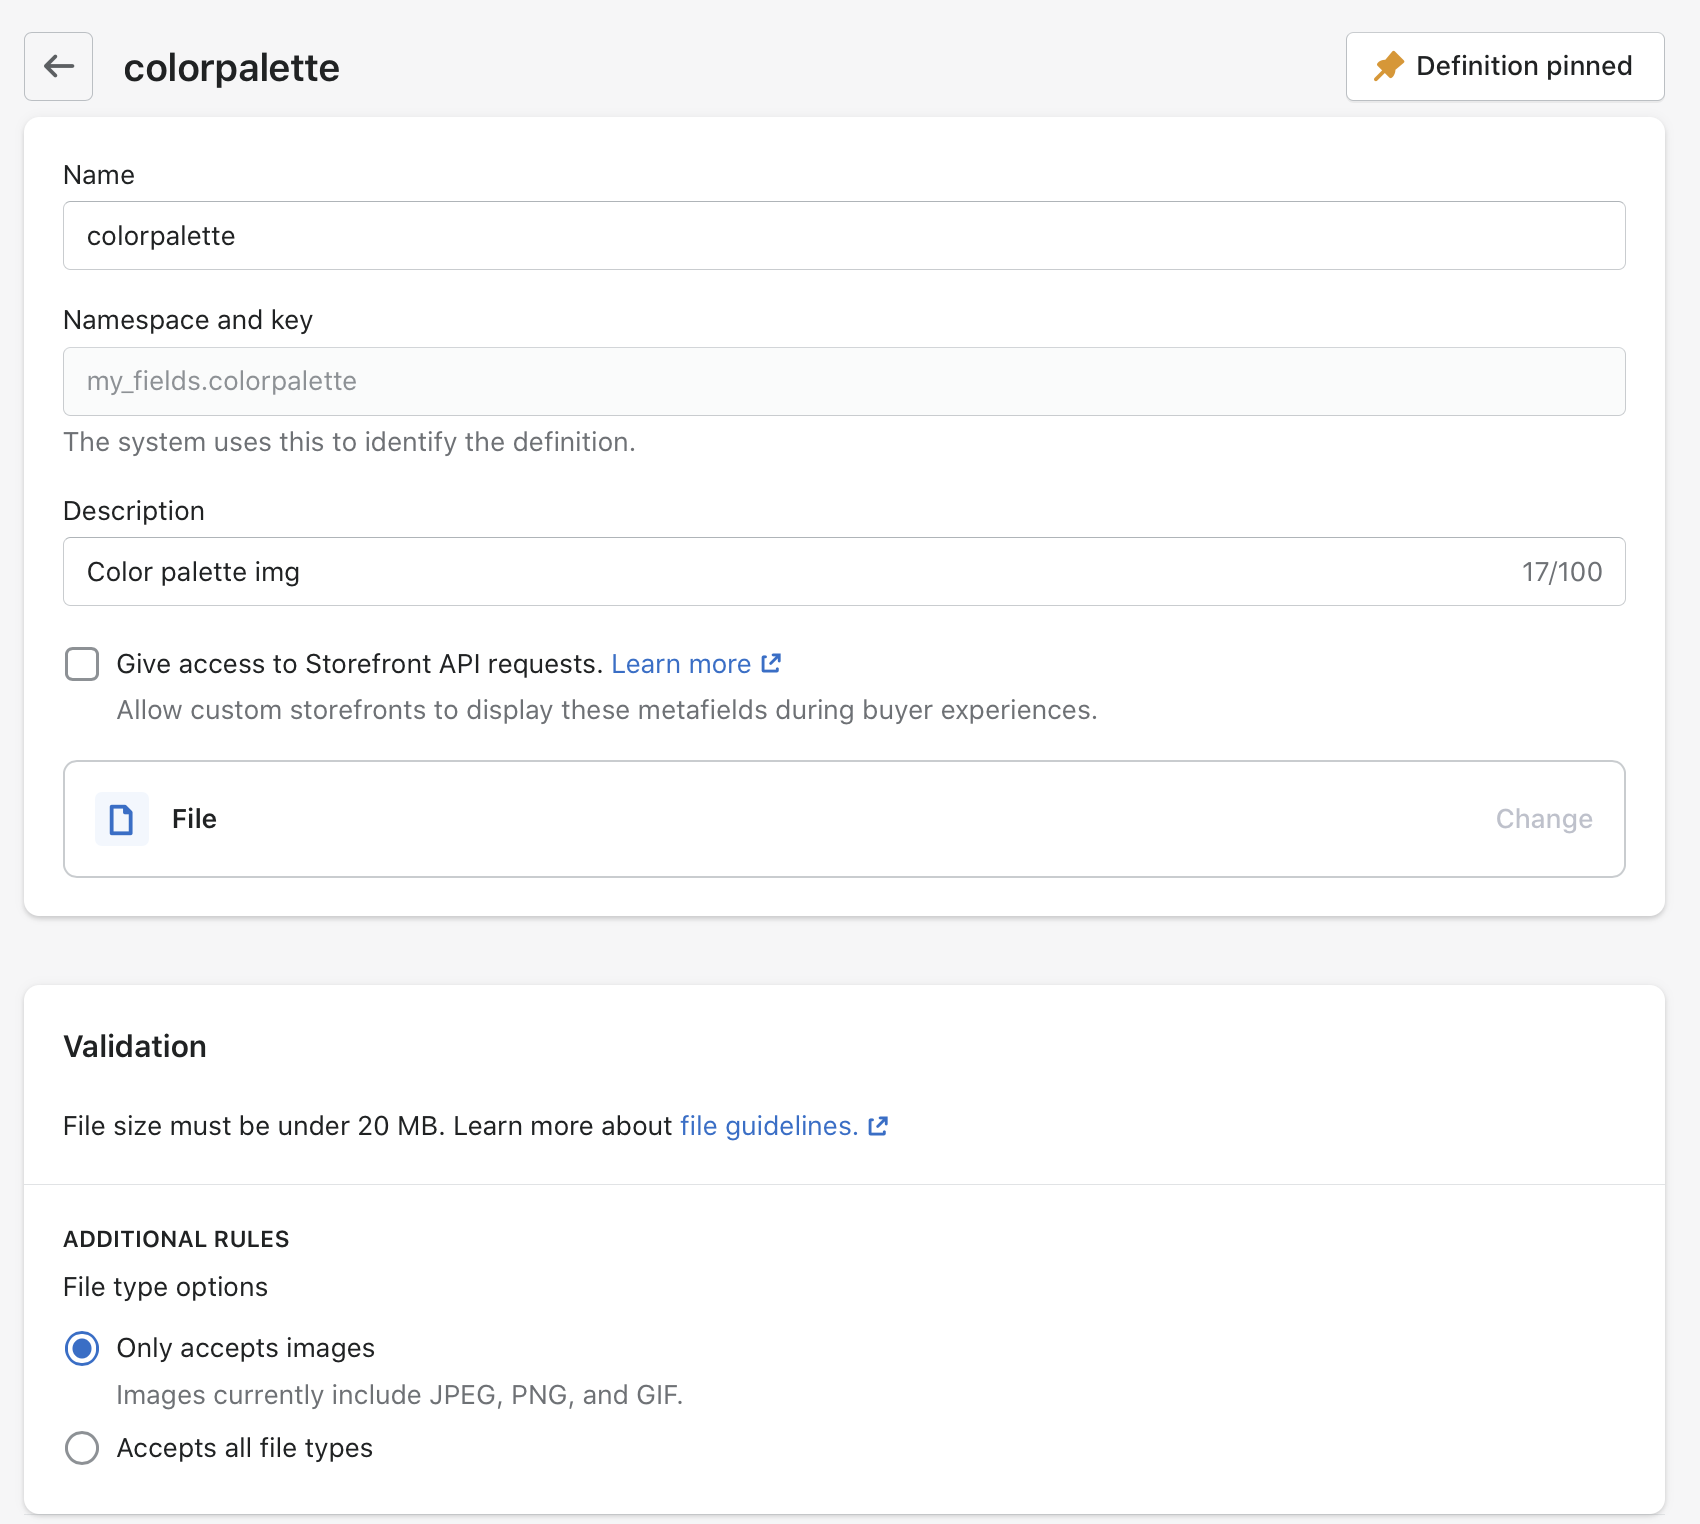
- Name your metafield (in my case colorpallete or manual).
- Namespace and key – you can leave it as it is.
- Description – not required, but it’s worth writing a few words about the metafield.
- Choose the file type.
- For images, choose “only accepts images” or for any other file type click the second option.
- Save the definition.
- Go to your Shopify Admin -> Products.
- Choose a product, you would like to add a file for.
- Scroll to the bottom of the page. You will see the metafields section.
- Click the value and select image or file.
- Save the product.
(For more detailed guide, refer to the article: How to display additional product information on your store? Use integrated Shopify metafields.)
How to render a file metafield on your product pages?
Let’s differentiate between an image and other file types.
Images
Normally, when you’re displaying an image on Shopify pages, you would use the asset_url filter:
{{ 'colorpalette.png' | asset_url }}
However, since the image uploaded through metafields is a file content type, you need to use file_url filter:
{{ 'colorpalette.png' | file_url }}
Let’s combine the filter with the metafield and insert the code in the relevant product liquid file (such as product-template.liquid or main-product.liquid):
  <div>
    <img src="{{ product.metafields.my_fields.colorpalette | file_url }}" />
  </div>
Any other file types
Similarly to images, you need to use the file_url filter. The code could look like this:
  <div>
    <a href="{{ product.metafields.my_fields.manual | file_url }}">Download Manual</a>
  </div>
And that’s it! Great job! Thanks for reading this article and I hope the guide will help you display a file stored in a metafield. If you have any further questions about metafields or any other Shopify issues, feel free to contact me.